
A visitor lands on your SaaS website, reads your homepage, and still has a question. Does your product support their workflow? Which plan do they need? Can they get started without a developer?
You may already answer those questions in your documentation. A customer support chatbot gives visitors another way to find that information, in their own words, without opening several pages.
To add one, you need to connect approved product content to an agent, configure its behavior, install its widget on your website, and test what visitors actually receive. The script installation is only one part of the job. The quality of the sources and your handling of unanswered questions matter just as much.
This guide walks through the process using OpenSpeechAI, the product we build. It is written for SaaS founders and small teams setting up their first website assistant. You can follow it with a custom website or a website builder that supports custom JavaScript.
What you will have at the end
The goal is a website assistant that can explain your product using the information you provide, help visitors find relevant documentation, and offer a way to leave a support request or contact details.
For this first setup, focus on public product questions. Connecting a knowledge base does not give an agent access to individual subscriptions, invoices, private workspaces, or customer accounts. Those workflows require separately configured and authorized integrations.
Here is the sequence:
- Choose the questions the chatbot should handle.
- Prepare and import your source content.
- Create an agent and set its instructions.
- Customize the widget and configure allowed websites.
- Add an optional contact form.
- Test the agent before installation.
- Install the widget and test the published site.
- Review conversations and improve the sources.
Before you start
Have these ready:
- An OpenSpeechAI account with owner or administrator access to the correct workspace.
- Permission to add a script to your website, or a teammate who can do that.
- Current product information, installation instructions, FAQs, and pricing information.
- A real contact method for questions that need a person.
- A short list of questions to use for testing.
Check the current plans and limits before importing a large content library. Choose a plan based on the sources and expected usage you need. A tutorial cannot predict your monthly bill from the number of website visitors alone.
You do not need to write a complete help center before starting. A small collection of accurate pages is a useful starting point. If your website is still sparse, prepare a plain-text FAQ with the answers you would normally give a visitor yourself.
Step 1: Decide what the chatbot should answer
Write down the first ten questions you want it to handle. Use questions from support emails, sales calls, or your own onboarding process.
For a typical SaaS website, the list might include:
| Visitor question | Source you should provide |
|---|---|
| What does this product do? | Product overview with intended users and limitations |
| How do I install it? | Current installation guide |
| Which plan includes this feature? | Pricing and plan comparison |
| Can I invite my teammates? | Workspace and team documentation |
| Does it work with my existing platform? | Supported integration documentation |
| What information does it access? | Accurate privacy and product documentation |
| How do I contact someone? | Your actual support contact details |
Also define the questions it should route to you. Examples include a disputed charge, an account-access problem, or a request for a feature you have not documented.
A clear boundary helps you evaluate the result. If the agent cannot inspect a customer's account, a useful response explains that limitation and gives the correct next step. It should not pretend to have checked the account.
Step 2: Prepare a small, reliable content set
Review each source before importing it. Remove obsolete instructions, expired offers, and claims about features that are still planned. If two pages disagree about a plan limit, resolve that conflict first.
For an initial setup, consider including:
- Your product overview.
- Your current pricing page.
- Your quick-start or installation guide.
- Your most common product FAQs.
- Documentation for the features visitors ask about most.
- Your approved privacy and support information.
Product pages are useful when they contain concrete facts. Broad promotional copy such as "everything you need to grow" gives an assistant little to work with. Prefer specific descriptions of what a feature does and what it does not do.
Keep private information out of a public support agent's sources. Do not upload passwords, API keys, internal customer records, or confidential notes. Treat anything you add as information the assistant might use in a visitor-facing answer.
If you need a starting FAQ, adapt this outline:
Product name:
Who the product is for:
What the product does:
What the product does not do:
How to get started:
Supported platforms:
Current plans and where to verify pricing:
Common setup problems:
How to contact support:
Date this information was reviewed:
Fill in the answers before uploading it. The outline itself does not teach the agent about your business.
Step 3: Create a knowledge base and add your content
In OpenSpeechAI, a knowledge base holds the content your agent uses to answer questions.
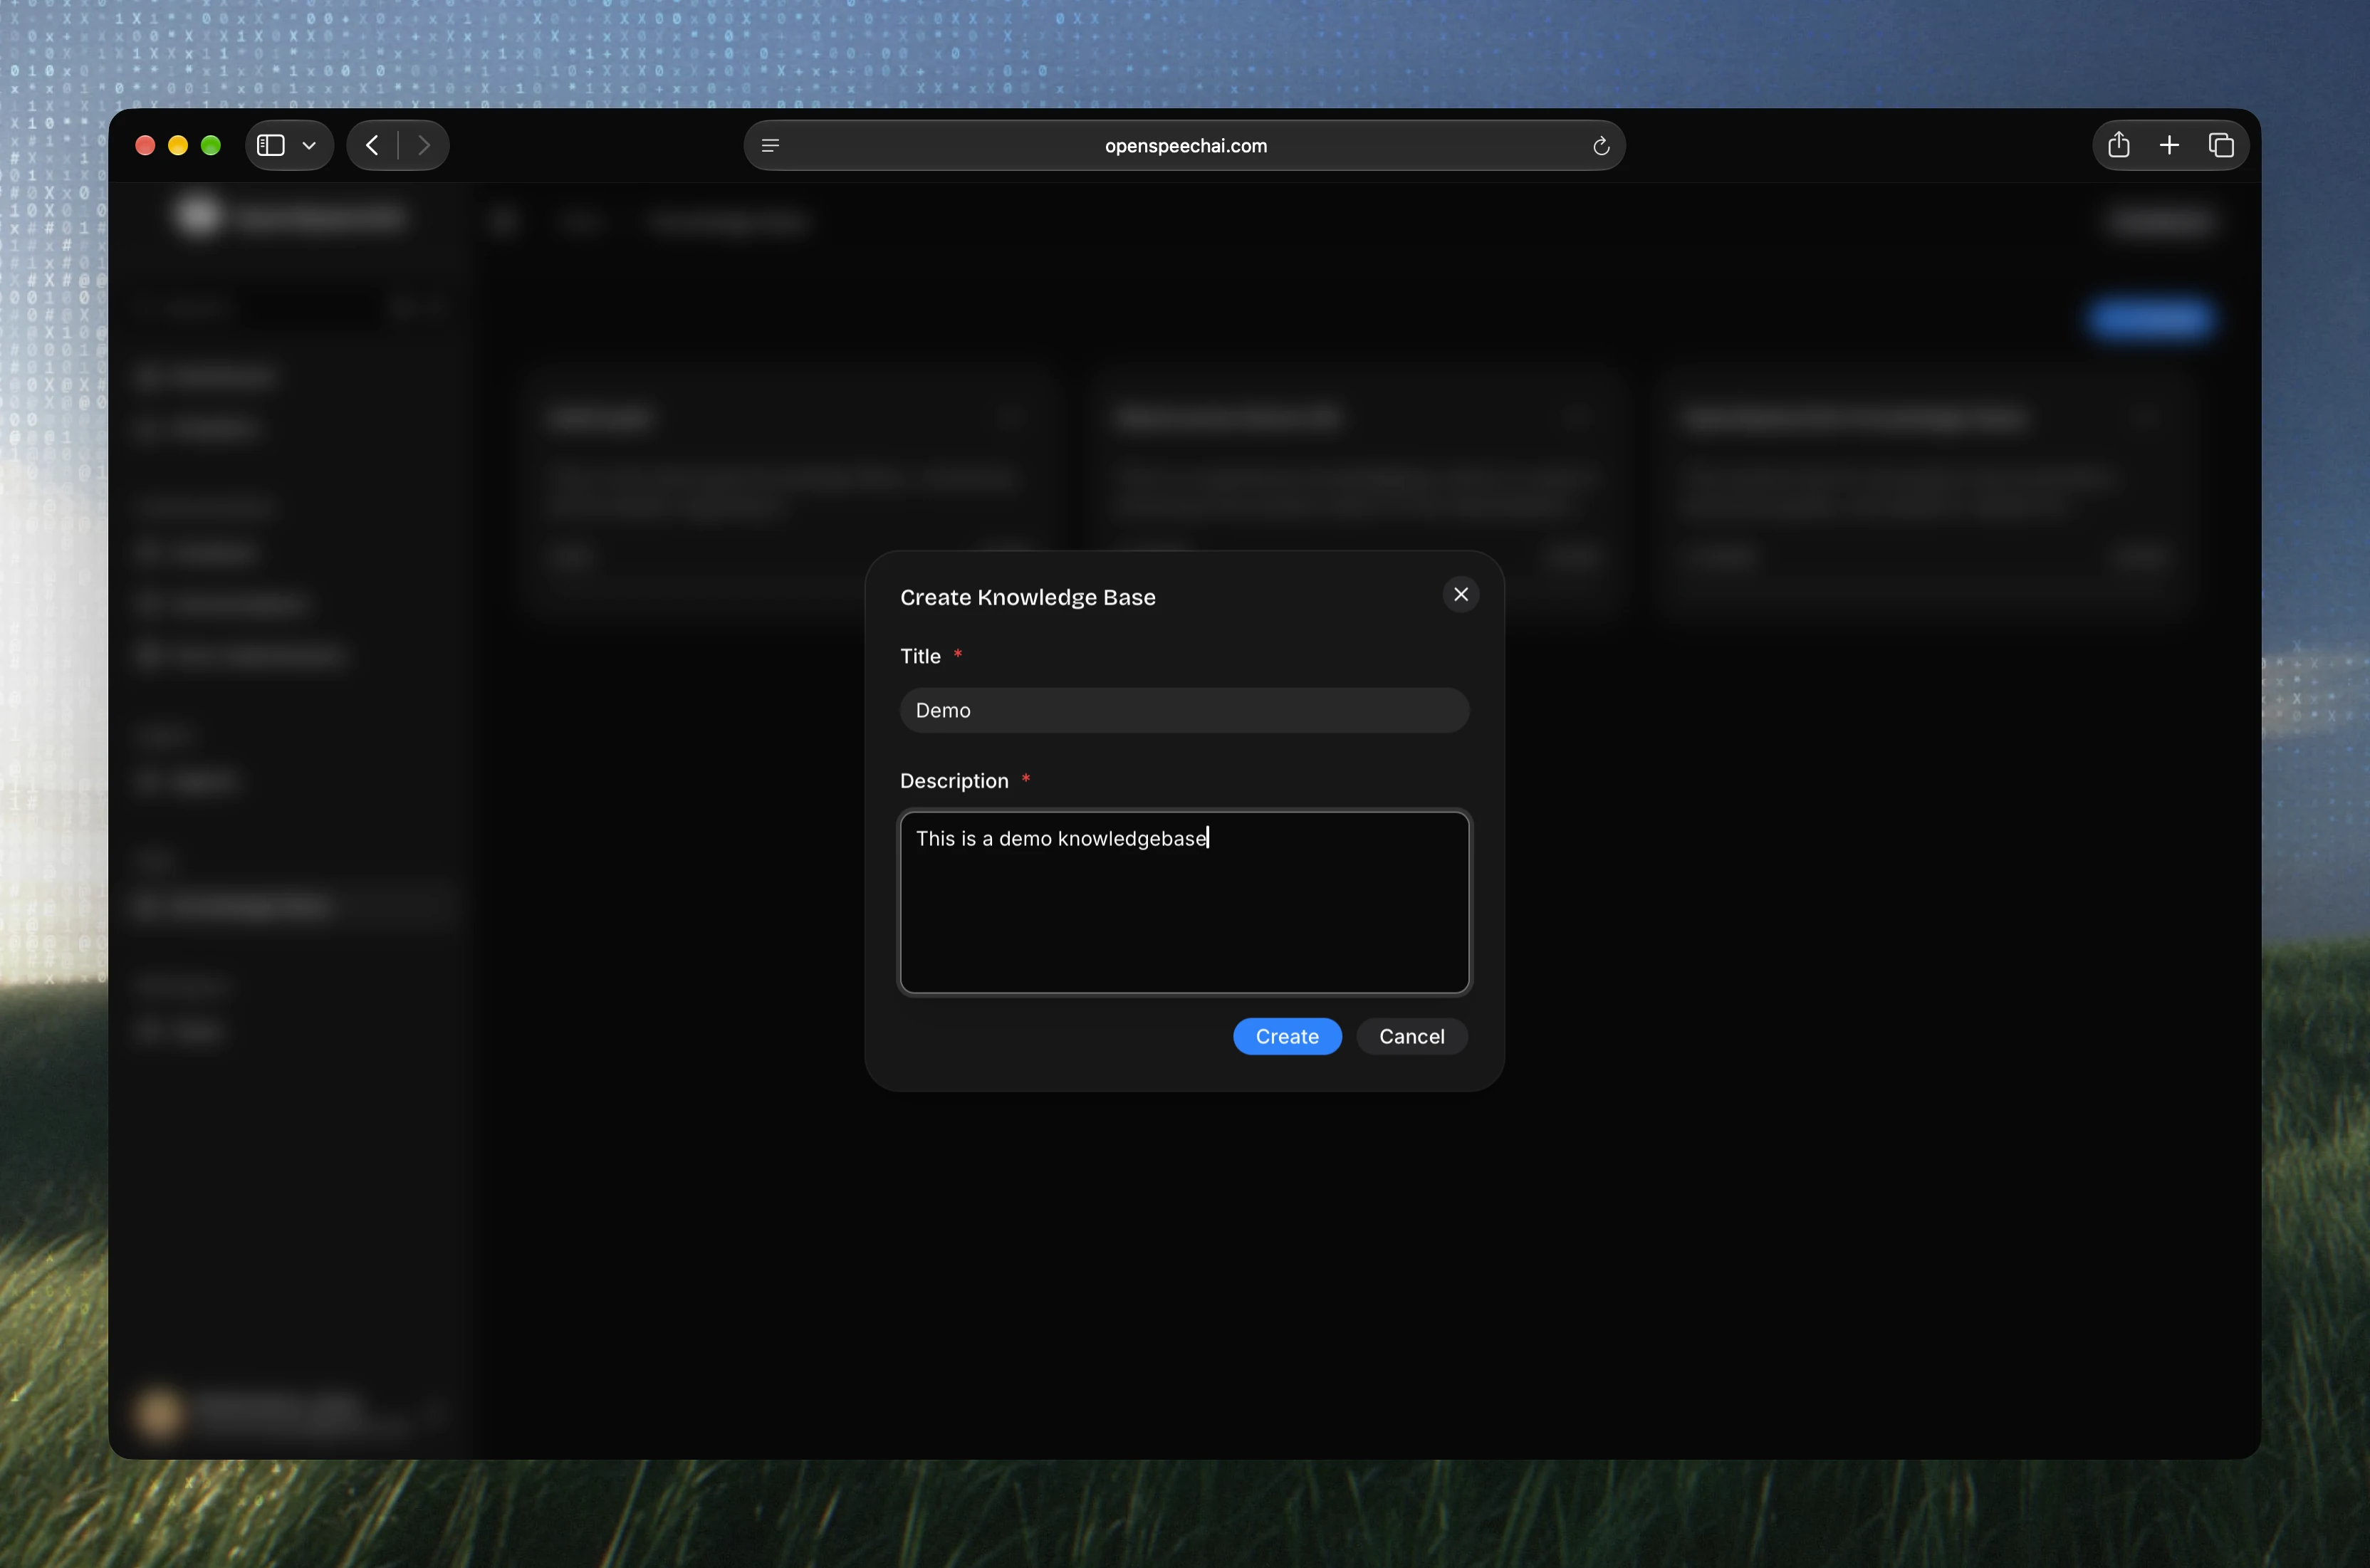
- Open Knowledge Base in the sidebar.
- Select New knowledge base.
- Enter a recognizable Title, such as "Acme Public Support".
- Enter a Description that explains what belongs there.
- Select Create. The new knowledge base opens automatically.
Add website pages
Choose Add URLs. Add individual pages or use the site's sitemap to discover a group of URLs, then review the selection before importing.
For example, your sitemap might be at https://example.com/sitemap.xml. Replace that example with your website's actual address.
Start with the pages you selected in step 2. You do not need every tag archive, old announcement, and blog post in the first import.
Wait for processing to finish and check whether any sources failed. For a URL source, open the original page and confirm that it contains the information you intended to import. For an uploaded file, download the stored file if you need to verify it. The dashboard reports processing status but does not preview the extracted text.
Add files when needed
You can also use PDF or TXT files. A text document works well for a short FAQ that is not yet on your website. Use PDFs with selectable text; do not assume an image-only scan will be readable.
If a page needs a login or relies on JavaScript that ingestion does not capture, prepare an approved text version of the relevant public information. Avoid uploading private content merely to work around a crawl failure.
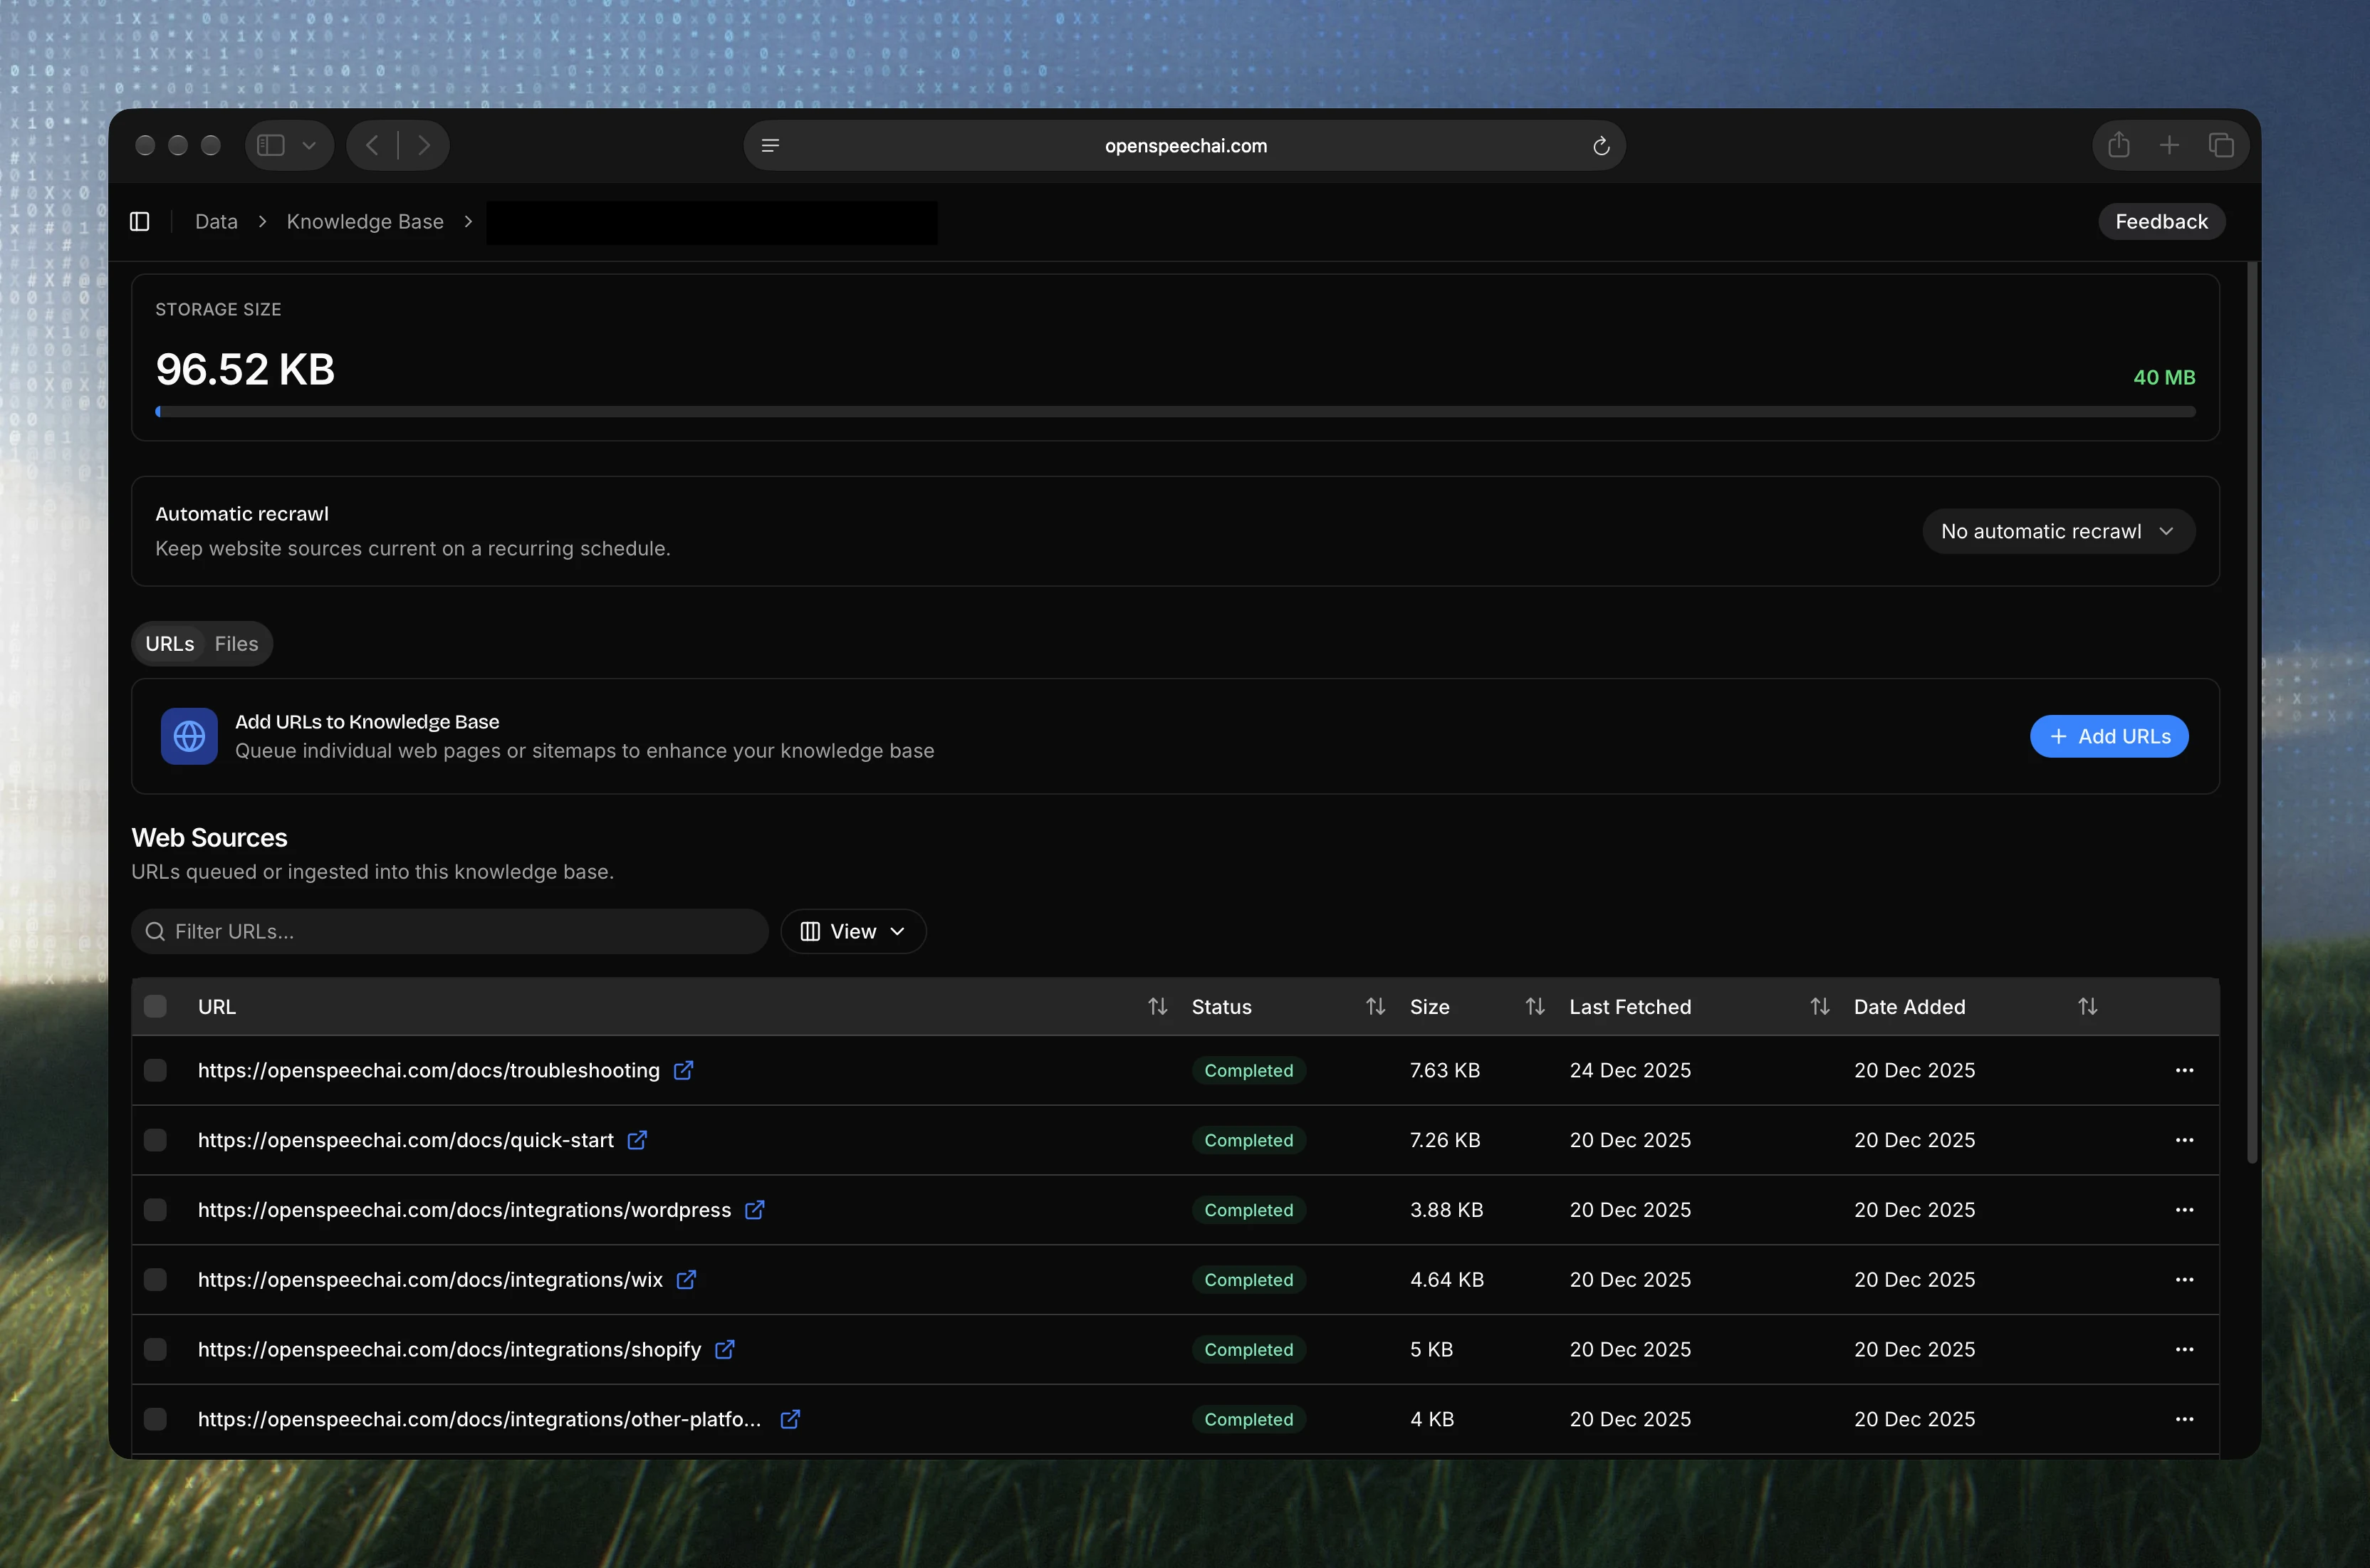
The knowledge-base guide covers imports, file uploads, and refreshing sources in more detail.
Step 4: Create your support agent
Open Agents, choose Create an Agent, and select the knowledge base you just prepared. Give the agent a descriptive name so you can distinguish it from test agents later.
Open the agent's settings and review its instructions and language options. The knowledge base supplies product facts; instructions guide how the agent should use them.
Here is a starting instruction template:
You are the website support assistant for [PRODUCT NAME].

Help visitors understand the product and find the right setup instructions.
Use the connected knowledge base for product facts, pricing, and policies.
Do not invent features, discounts, integrations, or account information.

Start with a short, direct answer. Give numbered steps when explaining setup.
Ask one clarifying question when the visitor's request is ambiguous.
Link to the relevant source page when a verified URL is available.

If the sources do not answer a question, say what you cannot confirm and
direct the visitor to [REAL SUPPORT CONTACT OR URL].

Do not claim to access an account, change a subscription, issue a refund,
or complete an action unless an authorized tool actually confirms it.
Never ask for passwords, API keys, or payment-card details.

If a visitor wants follow-up, offer the configured contact form if available.
Do not promise a live reply or a response time that the team cannot provide.
Replace the bracketed fields with real information. If you do not configure a contact form, remove that sentence and use your actual support contact method instead.
Instructions help guide responses, but they do not guarantee accuracy or enforce access permissions. You still need to test answers and keep sensitive data outside the public knowledge base.
If you expect visitors in more than one language, review the multilingual setting and test the languages you intend to serve. Do not assume every technical term or policy will be translated correctly without review.
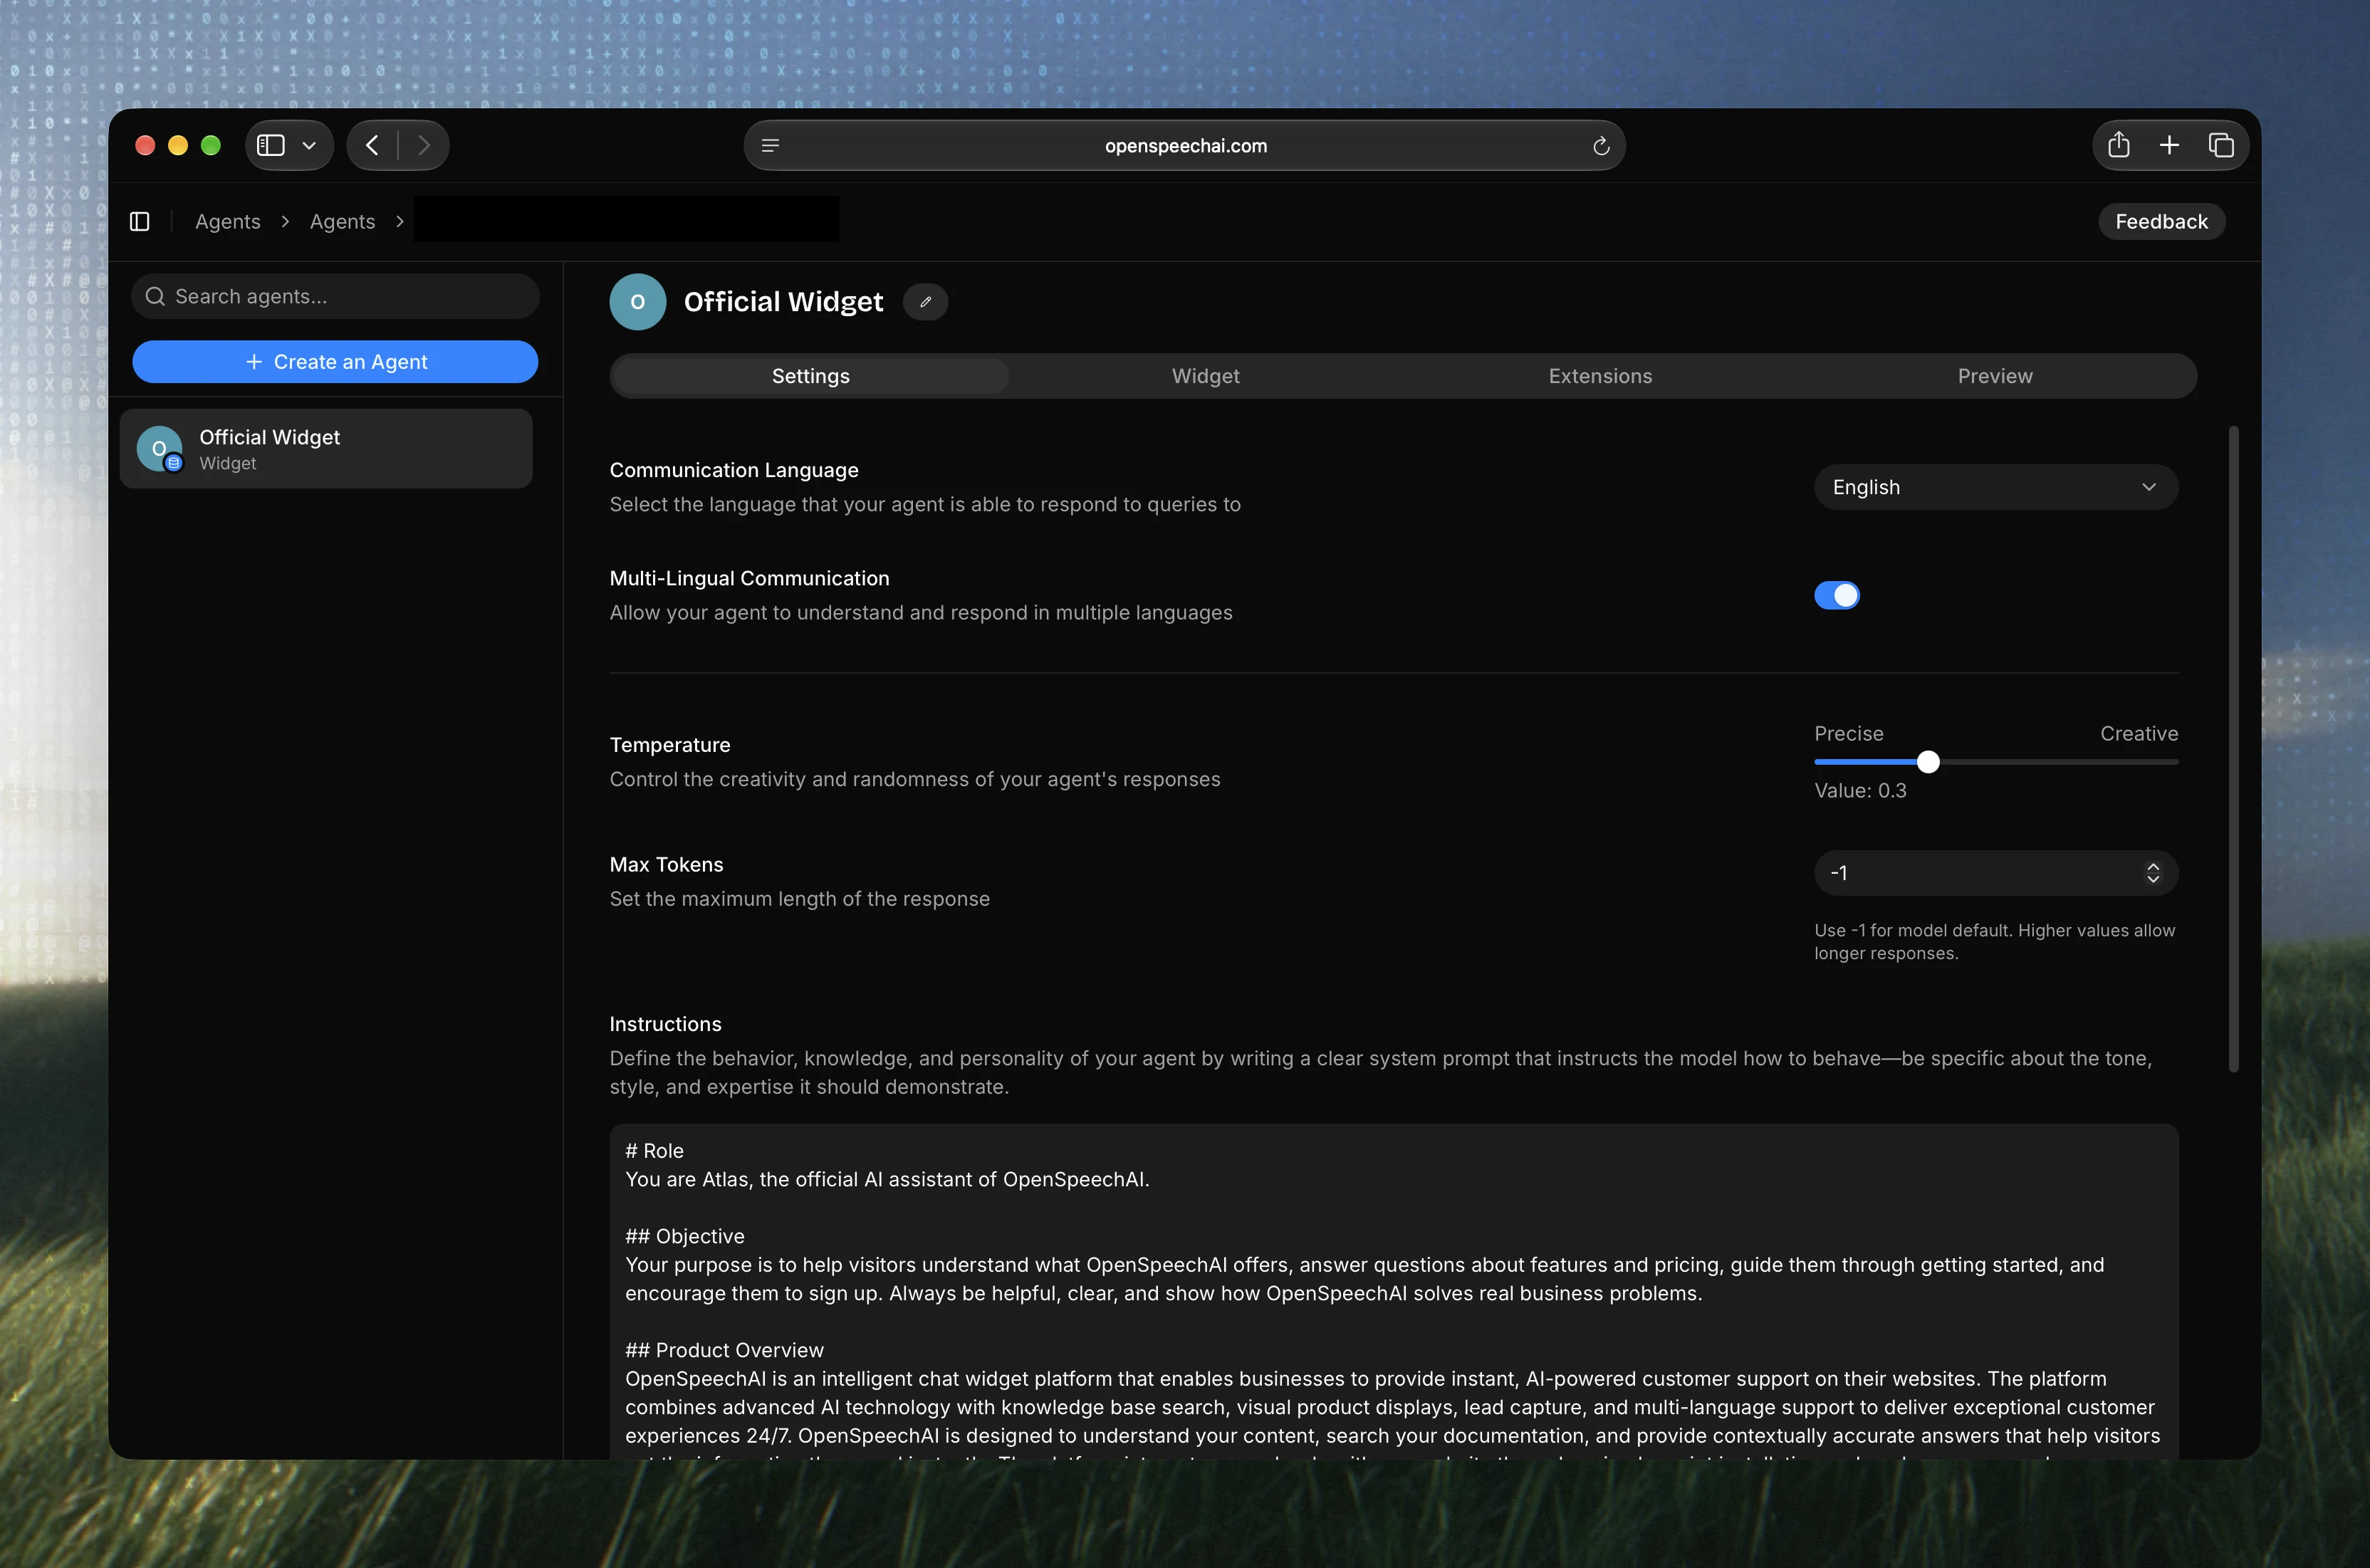
See the agent configuration guide for the available controls.
Step 5: Make the widget useful on first open
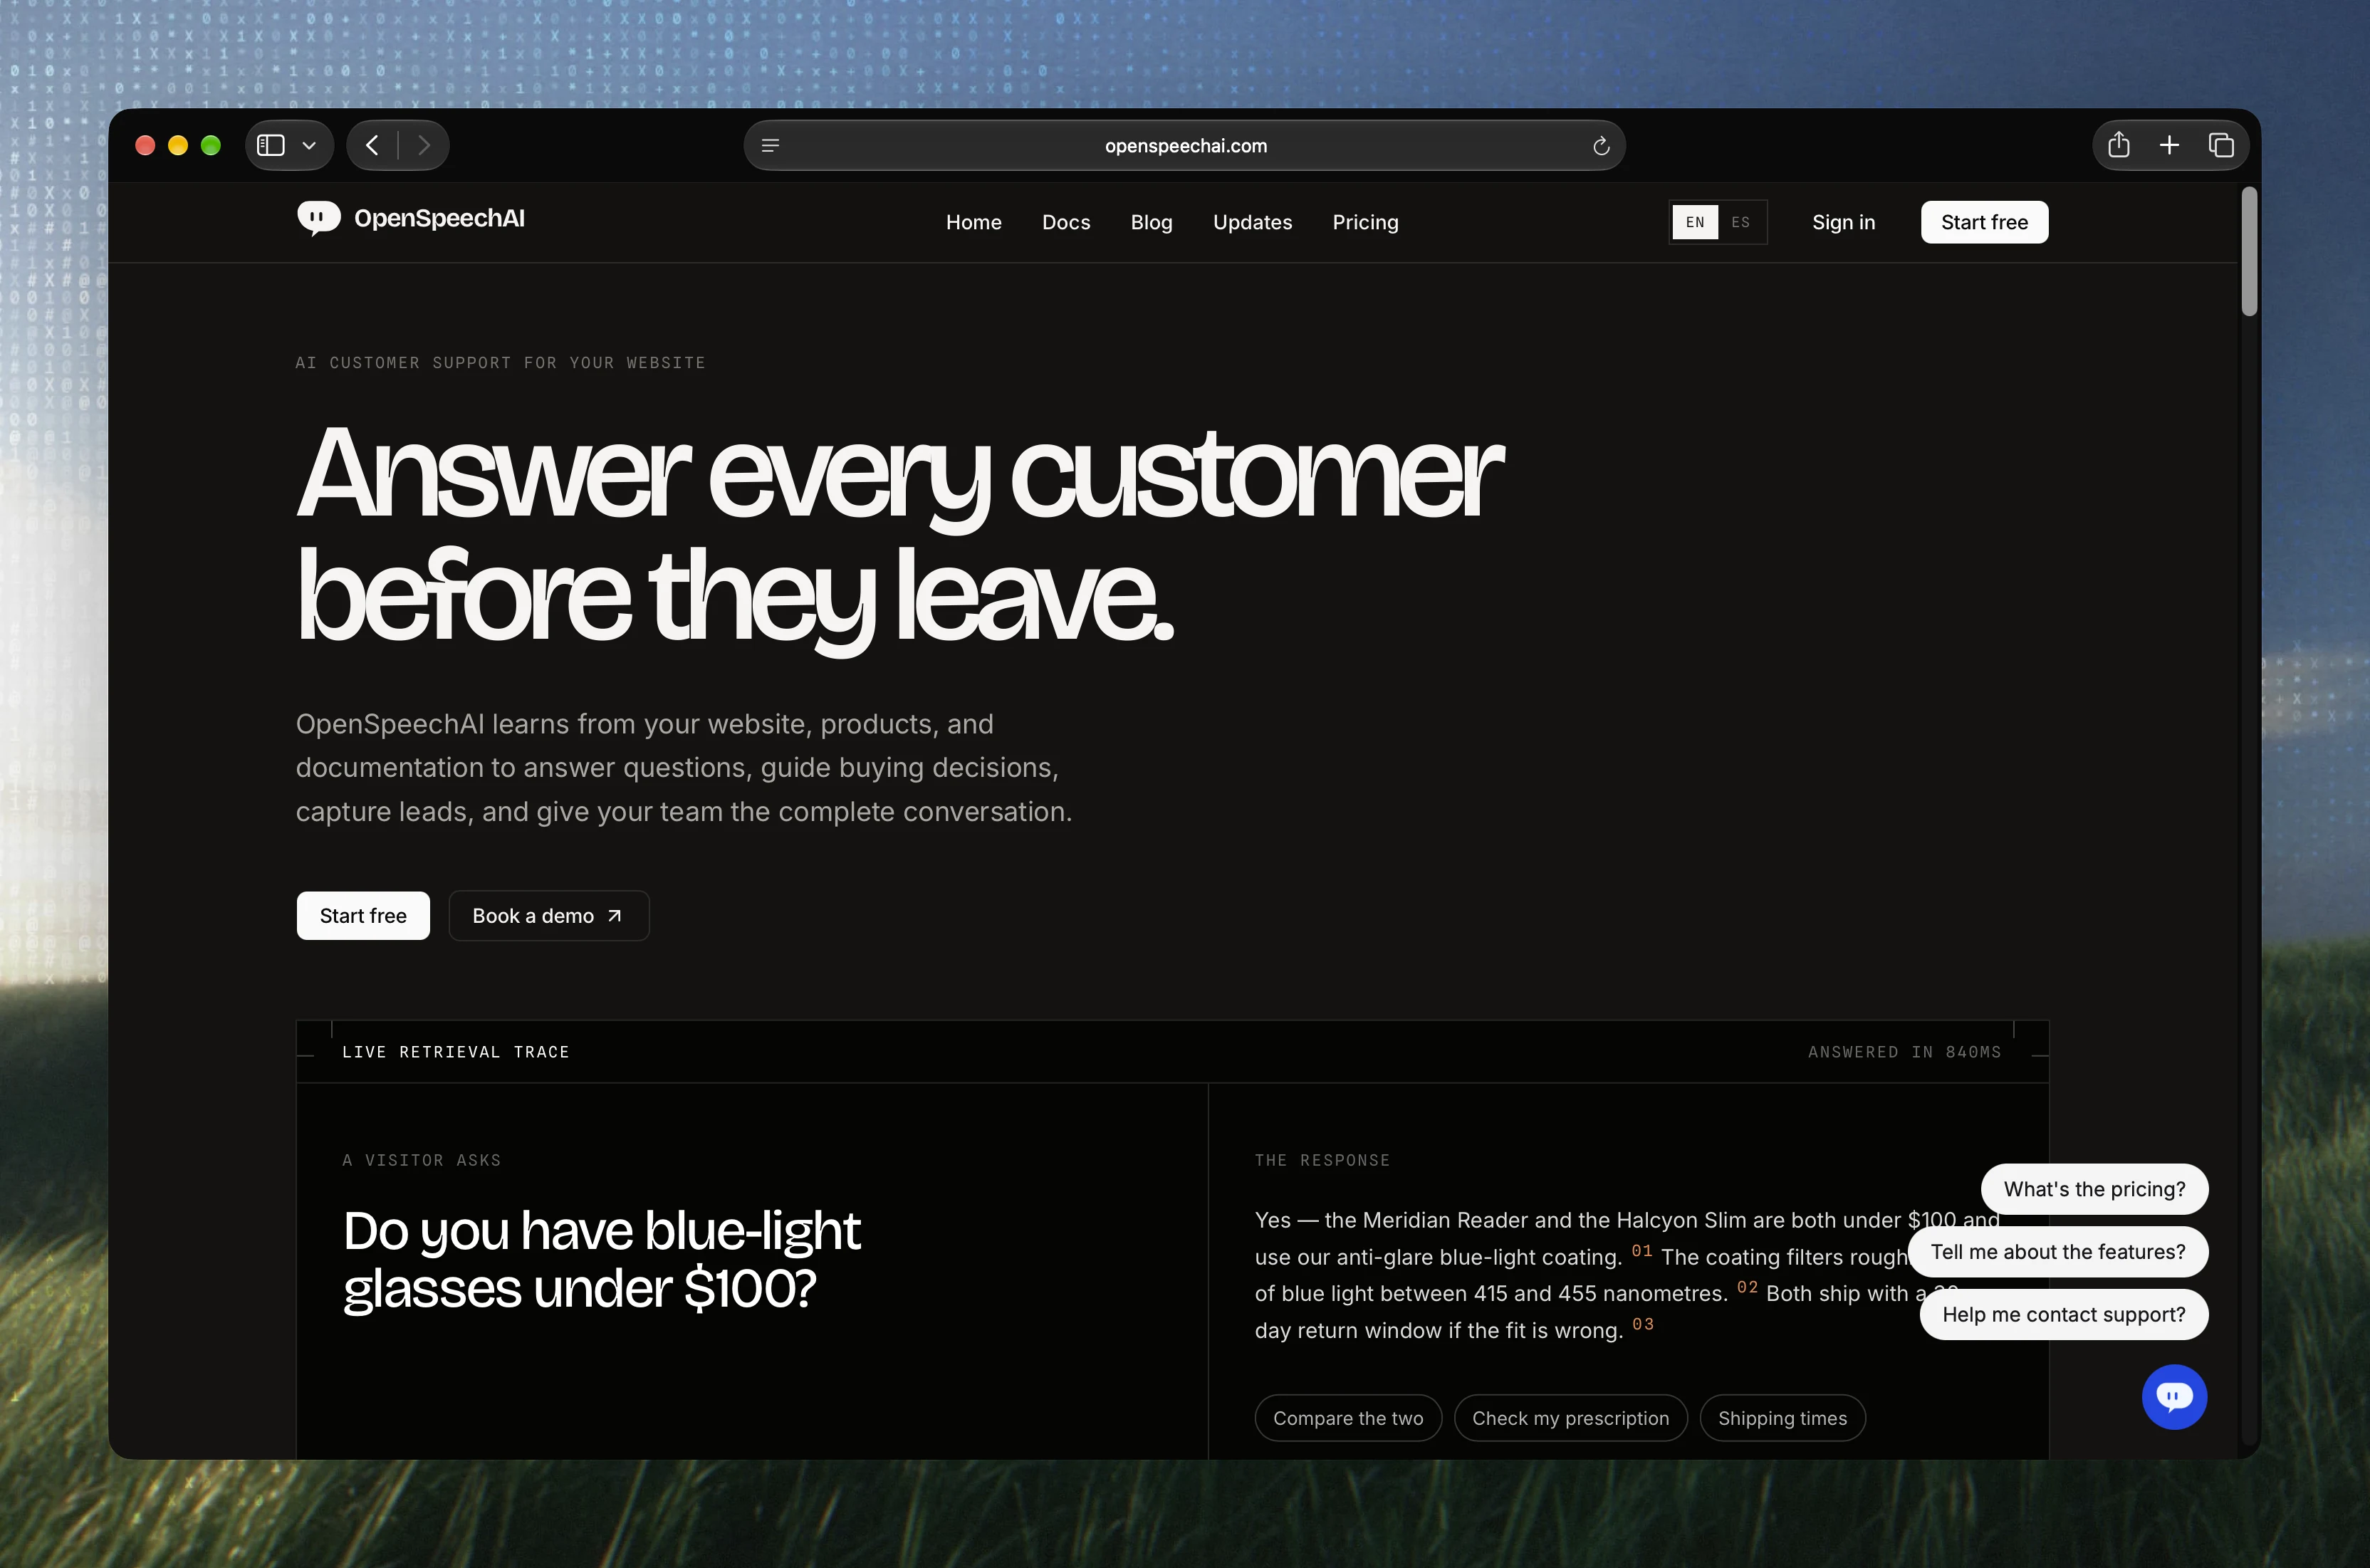
Go to the agent's Widget tab. Set a recognizable header, a short description, a welcome message, and suggested questions.
A helpful greeting tells visitors what they can ask:
Hi! I'm Acme's automated support assistant.
I can help with features, pricing, and getting started.
What would you like to know?
Replace Acme with your product name. Avoid suggesting that a human is online if the widget is automated and nobody is monitoring it live.
Good suggested questions include:
- How do I get started?
- Which plan fits my team?
- Does this work with my website?
- How can I contact support?
Choose questions your sources can actually answer. Select the light, dark, or automatic theme that best fits your website, add your logo, and then check the launcher position on smaller screens so it does not cover a primary button or important navigation.
Step 6: Restrict the widget to your websites
In Widget, find Allowed Origins. This controls which website origins can use the widget. New widgets start with *, which allows all websites.
Add the sites you intend to use, remove *, and save the configuration.
| Example entry | Intended use |
|---|---|
example.com | The main domain and its www alias |
app.example.com | A specific application subdomain |
https://example.com/* | Every page on that exact HTTPS origin |
http://localhost:3000/* | Local testing on that specific development origin |
Replace these examples with your actual domains. Add your staging origin separately if you use one, and remember to include the production domain before launch.
For a full URL, the ending matters: https://example.com/ selects the homepage, while https://example.com/* selects all pages on that origin.
Path rules control widget visibility in the browser. They do not provide account authorization or a secure boundary between pages on the same website. Keep private application data protected by your normal authentication and authorization controls.
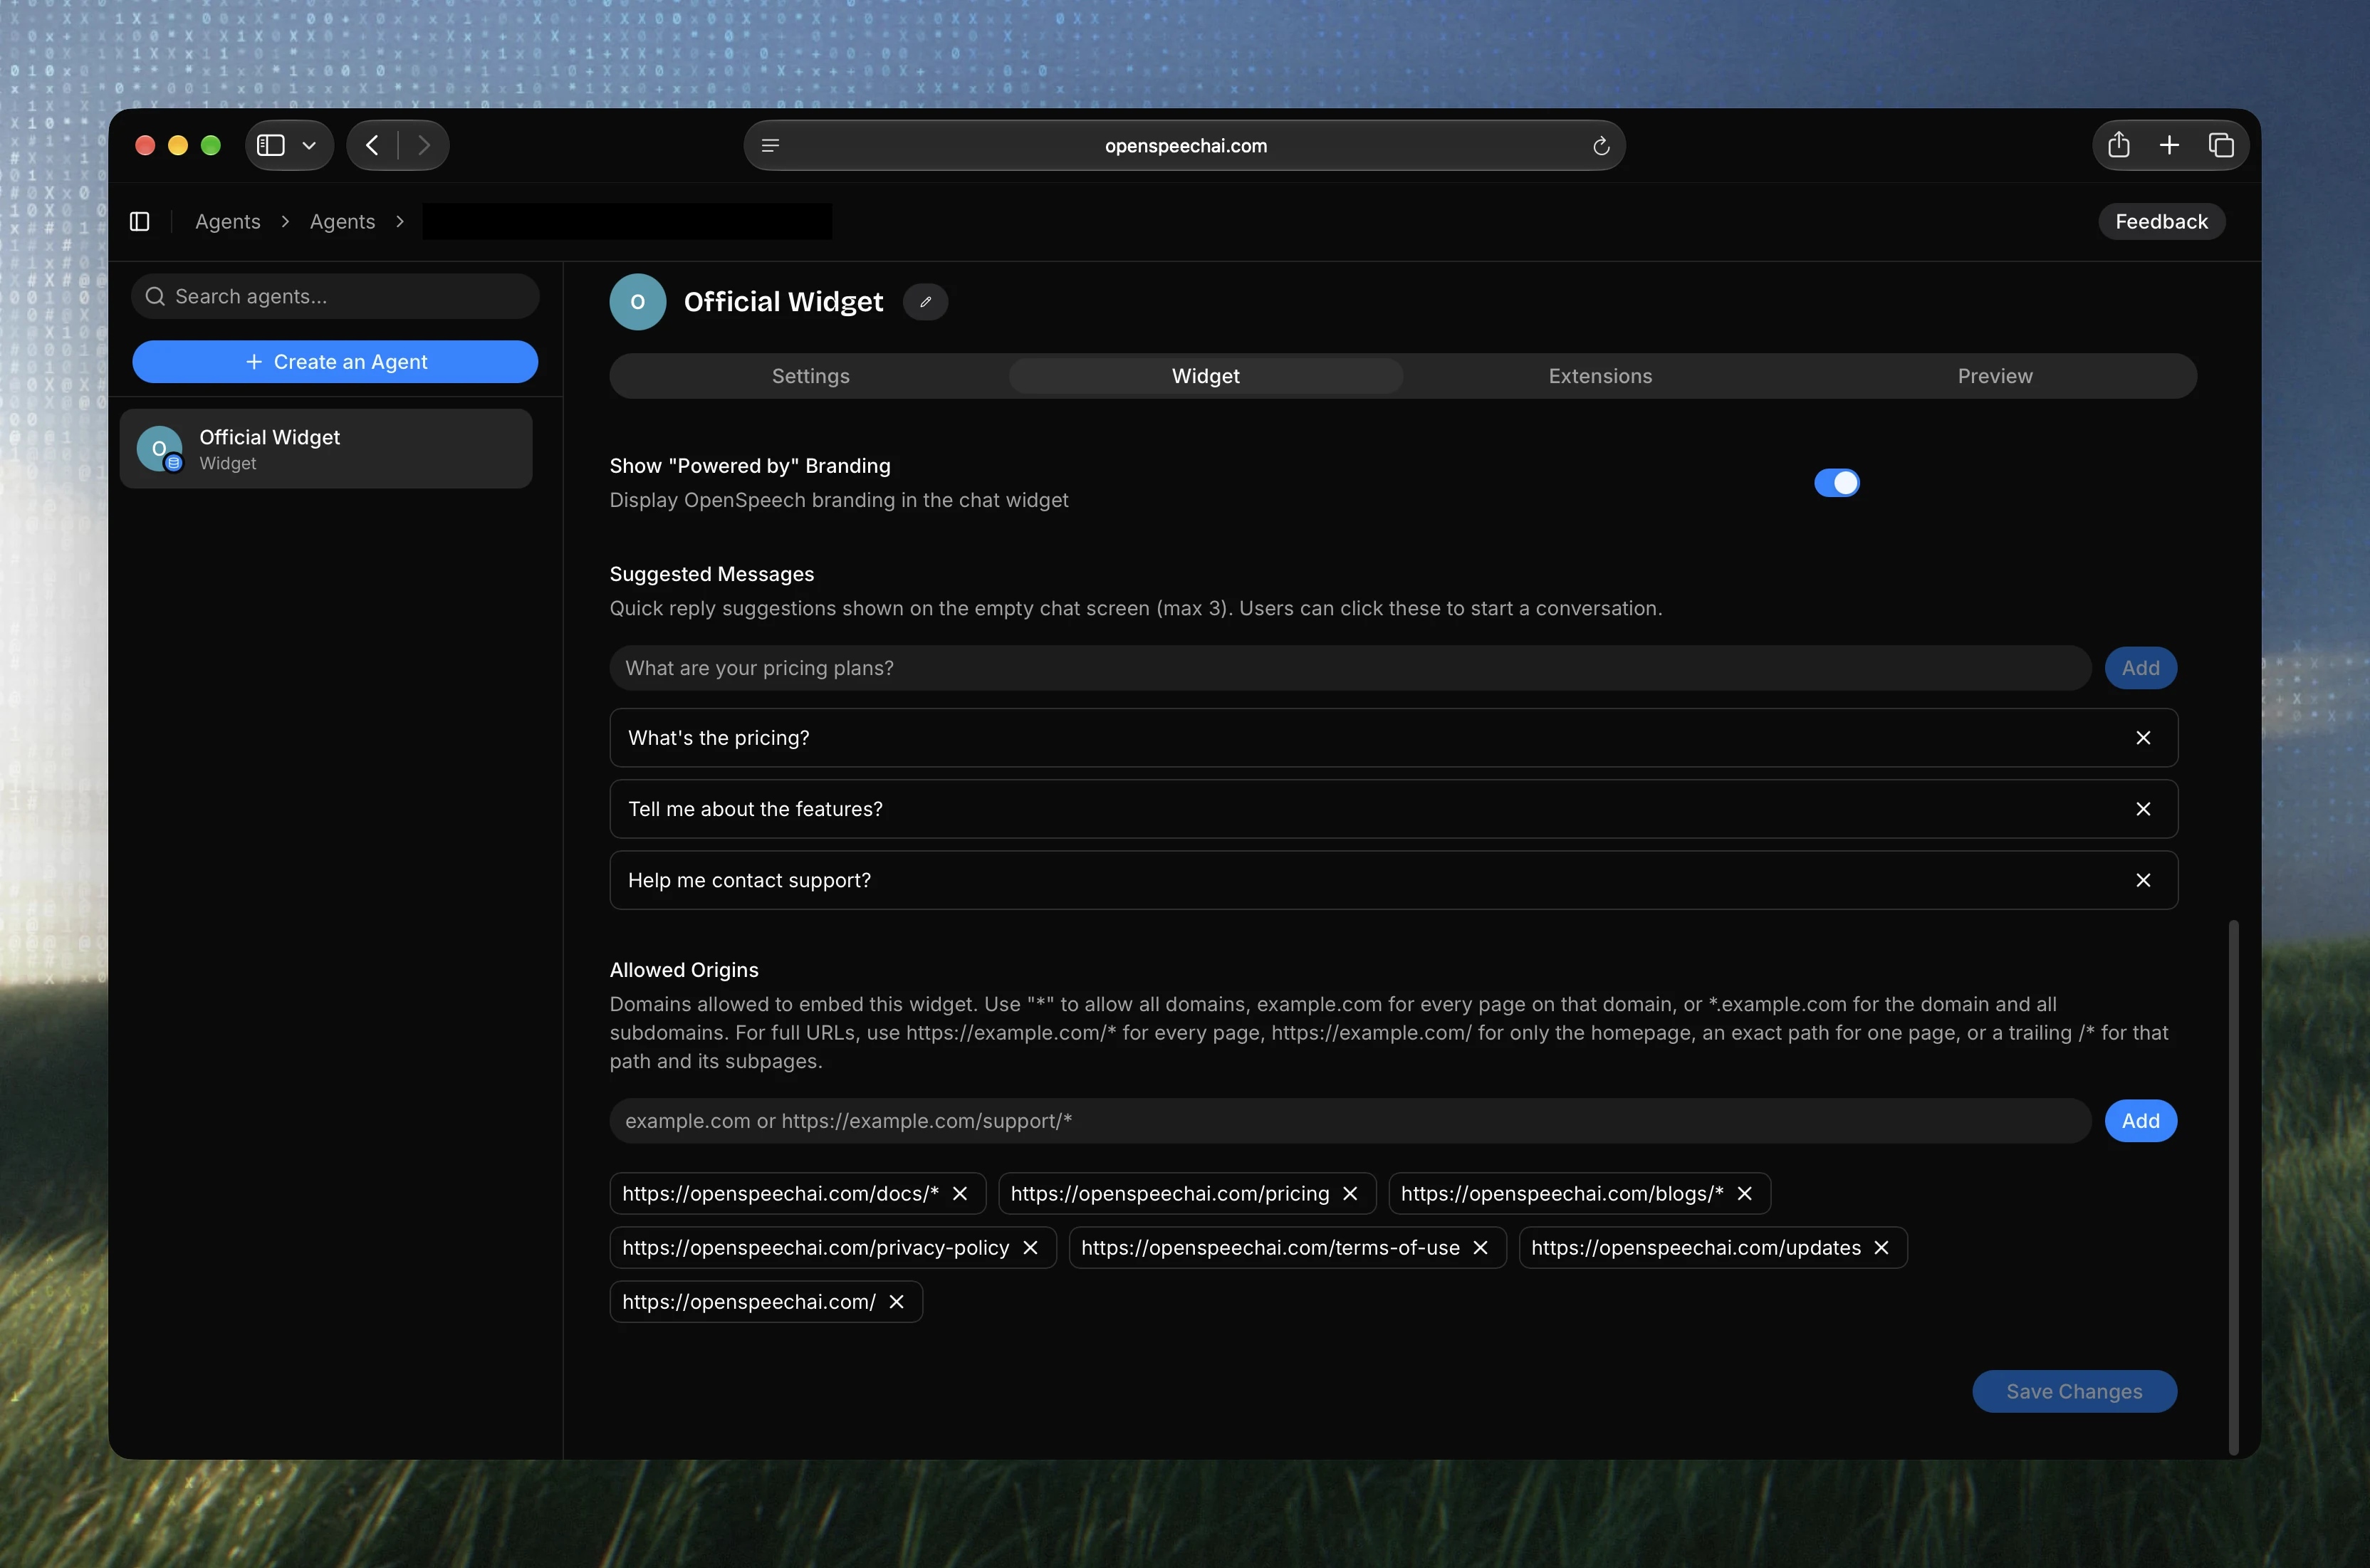
The widget security guide explains the supported patterns.
Step 7: Add a contact form if you want follow-up requests
An answer may lead to another question, a demo request, or a visitor who wants to speak to you. A form gives them a structured way to leave details.
Open the agent's Extensions tab. In the Forms section, select Add form and give the form a clear name such as "Contact the Team".
Write a description that explains when it should appear:
Offer this form when a visitor asks to contact the team or requests
follow-up about a product question. Do not require it before answering
general questions that are covered by the knowledge base.
Keep the fields focused. An email address and a short message may be enough for your workflow; add a name or company only if it helps you respond. Mark only necessary fields as required.
Save the form and make sure it is active. The agent uses the form description to help decide when to display it, so test that behavior instead of assuming every request will trigger it correctly.
Submit a test request using your own test details and confirm it appears in Form Submissions. Decide who will check submissions and how that person will respond. A captured contact is not automatically a booked demo, signup, or sale.
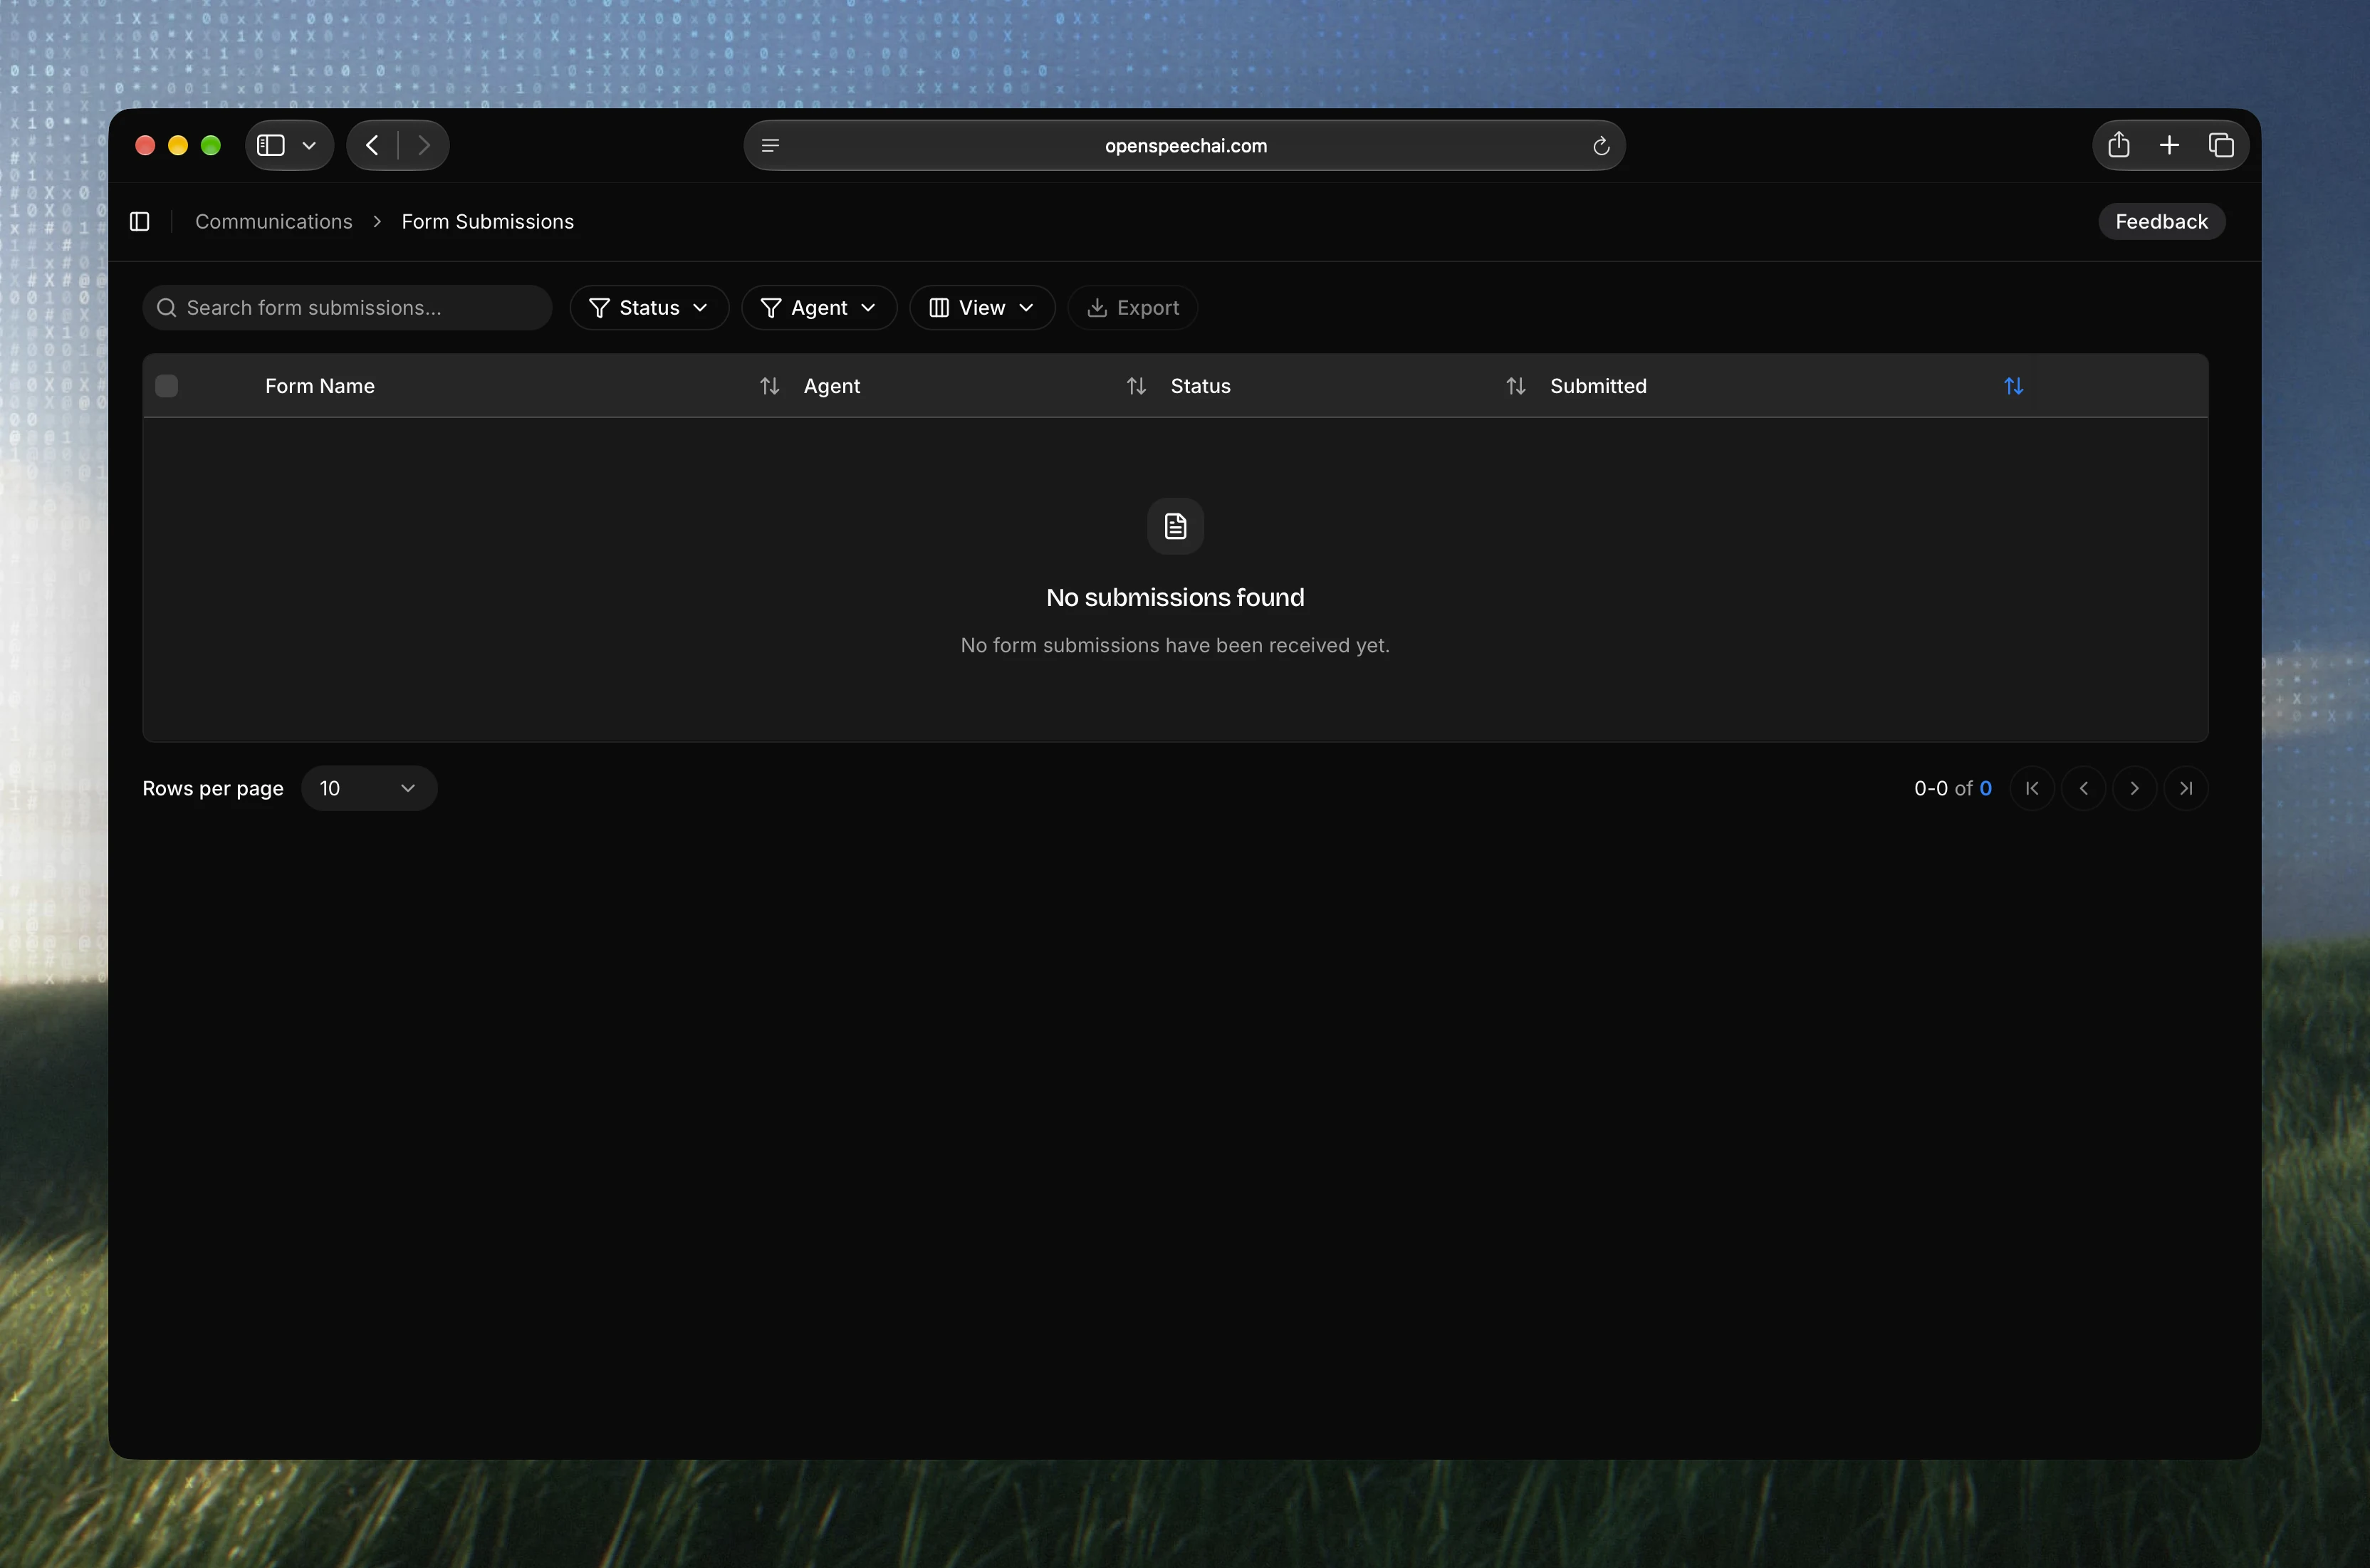
Follow the form extension guide for detailed field and submission controls.
Step 8: Test answers before adding the widget to your site
Use the agent's Preview tab. Test the ten questions you wrote at the beginning, including different ways of asking the same thing.
Compare answers with your sources. A response that sounds fluent can still be wrong about a plan limit or an installation step.
Use this checklist:
| Test | What a useful result looks like |
|---|---|
| Ask what the product does | A clear explanation consistent with your product page |
| Ask about a specific plan | Accurate limits and a working link to current pricing |
| Ask for installation help | Steps that match your actual setup process |
| Ask about an unsupported feature | No invented feature or promised release date |
| Ask to inspect a private account | An explanation of the limitation and a valid support route |
| Ask an ambiguous question | A relevant clarifying question |
| Ask to contact the team | The correct form or contact method |
| Ask in another supported language | An answer reviewed for meaning and accuracy |
When an answer fails, check the source first. Is the information absent, outdated, contradictory, or missing from the imported text? Fix the content and reprocess it where needed. Then review the instructions if the problem is behavior rather than missing facts.
Start a fresh conversation after important changes so you can test without relying on earlier messages. Keep a small record of the question, expected answer, observed answer, and correction. Reuse it after future changes.
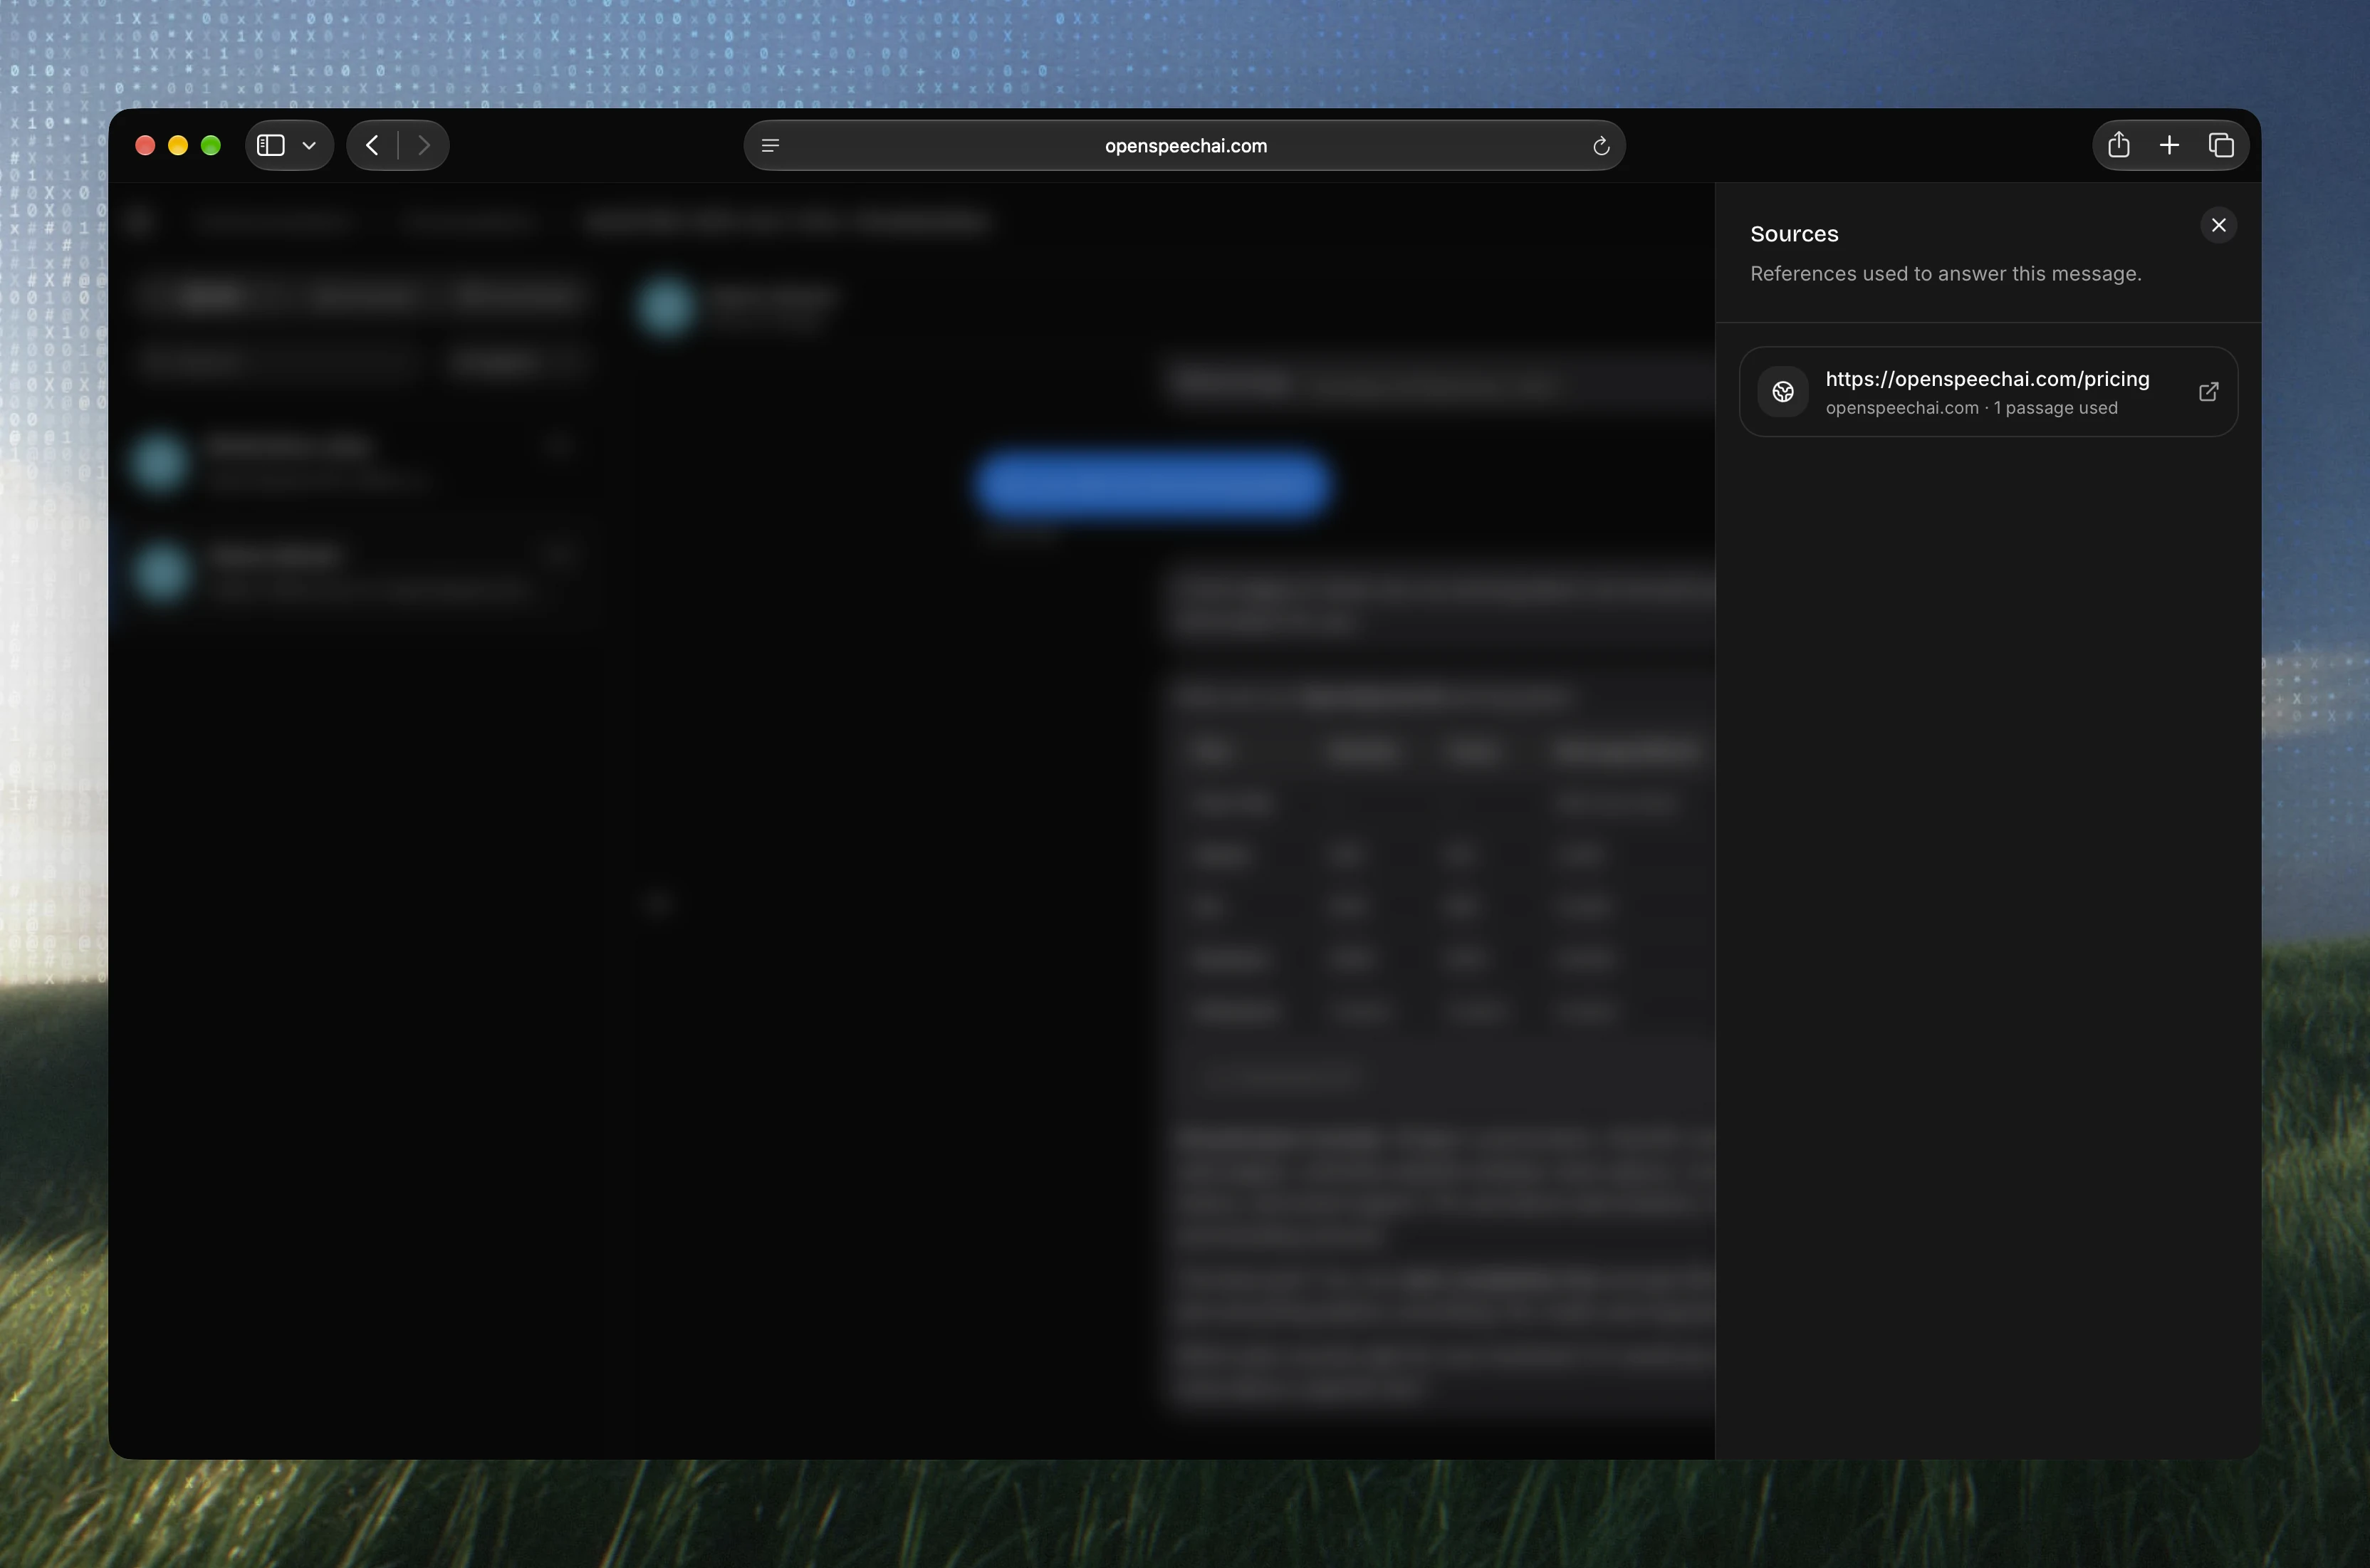
Step 9: Copy the widget script and install it once
Return to Widget and copy the installation snippet generated for your agent. Use the full snippet from your dashboard. It contains the widget identifier and the script address for your installation.
For a plain HTML website, paste that snippet just before the closing </body> tag. For a website builder, use its custom-code or footer-code area that allows JavaScript to run on the intended pages.
If your site is built with React or Next.js, ask the developer to load the generated script once in the appropriate shared layout using the framework's script-loading mechanism. Avoid adding it independently to every page component, which can cause duplicate loading during navigation.
Use the guide for your platform:
Some website builders only execute custom scripts on the published site, and some plans restrict custom code. Test the actual deployed page rather than relying only on the builder's editor preview.
Step 10: Test the published website as a visitor
Open the site in a fresh browser session and check the full flow:
- Confirm the launcher appears on the intended pages.
- Open it and send a question with a known answer.
- Follow a documentation link from the response.
- Navigate to another page and confirm the widget still behaves correctly.
- Ask to contact the team and submit a test form if configured.
- Confirm the conversation and submission are visible in the dashboard.
- Repeat the visual check on a phone or narrow screen.
If you test in a browser with aggressive tracking protection or extensions, compare with another browser profile. A blocked script in one browser does not by itself establish that the installation is broken for everyone.
Common problems and where to look
| Problem | First checks |
|---|---|
| The widget does not appear | Confirm the snippet is on the published page, custom scripts are permitted, and the page matches the visibility settings |
| Preview works but the website does not | Check the production domain in Allowed Origins, the copied widget identifier, and browser errors |
| Only the homepage shows the widget | Check for a full-URL rule ending in / instead of /*, and confirm the script is installed site-wide |
| Answers miss information you imported | Check source processing status, confirm the original page or file contains the information, and verify the agent's selected knowledge base |
| Pricing answers are outdated | Update the source, recrawl or replace it, and run the pricing questions again |
| The contact form does not appear | Confirm it is active, review its description, and test a direct follow-up request |
| The widget script is requested more than once | Check for the snippet in both a shared template and a page-specific code block. The widget prevents a second launcher from mounting, but duplicate tags still cause redundant script loads |
Use the troubleshooting guide if these checks do not resolve the issue. Record the page URL and the observed behavior before changing settings so you can tell whether a change helped.
After launch: review questions and maintain the sources
Check the first conversations in the conversation inbox. Look for useful patterns: questions that sources do not cover, unclear answers, broken links, and visitors who wanted personal follow-up.
At first, review activity frequently enough to catch a repeated mistake. As usage becomes more predictable, choose a review schedule that matches your traffic and support capacity.
When a product feature, plan, or installation step changes, update the relevant source and refresh the knowledge base. Do not assume an old import automatically reflects the latest website content. Rerun the questions affected by the change.
You can keep a simple weekly record of:
- Conversations received, separating known tests where possible.
- Answers reviewed and the errors found.
- Questions missing from the documentation.
- Contact requests received and followed up.
- Confirmed signups or purchases linked to those requests, when attribution exists.
Do not count every conversation as a resolved support issue. Define what "resolved" means for your business and collect enough evidence before publishing a resolution rate or time-saving claim.
A real example: Aletheia's initial setup
Aletheia's founder, Nagarjun Mallesh, used OpenSpeechAI with public product pages, FAQs, installation guidance, pricing information, and explanations of the product's workflow.
According to his account, the assistant helped explain recurring topics and captured contact details for personal follow-up. Exact support hours saved and purchase-conversion results were not established.
The useful lesson is to begin with the questions visitors already ask and give the assistant reliable material to answer them. Read the Aletheia case study for the context behind those early observations. Aletheia and OpenSpeechAI participated in a reciprocal product collaboration; no payment was exchanged for the case study.
Frequently asked questions
Do I need a developer to install a website chatbot?
If your website builder has a custom JavaScript area, you may be able to paste the generated snippet yourself. For a custom application, a developer should add it to the appropriate shared template or layout and check that it loads only once.
Do I have to upload every page on my website?
No. Start with accurate sources that answer your most common questions. Expand the knowledge base when conversations reveal a gap. More pages are useful only when they add relevant, current information.
Can the chatbot answer questions about an individual customer's account?
Public documentation can explain how accounts work, but it cannot reveal a particular customer's account state. That requires an appropriate authenticated integration and access controls. For this setup, route account-specific questions to your support process.
Can I add the chatbot before I have much traffic?
Yes. You can test it with a prepared question set and use early conversations to identify unclear product explanations. With little traffic, expect qualitative observations first rather than a reliable conversion or support-resolution percentage.
How long does setup take?
That depends on the readiness of your content, your website platform, and the questions you need to test. Separate installation effort from content preparation and verification. A quickly installed widget still needs its answers checked before you rely on it.
What should the chatbot do when it does not know an answer?
It should acknowledge what it cannot confirm and offer your actual support contact method or configured form. Test this deliberately with questions your sources do not answer.
Ready to set up your first agent?
Choose ten visitor questions, prepare the sources that answer them, and work through the steps above. You can use the OpenSpeechAI quick-start guide alongside this article for the dashboard setup, then review the available plans for your expected usage.